
Service alerts tell people important and time sensitive information they need to know. They should not stay on a page forever.
Visit the UX Style Guide for criteria and tips for writing an alert.
The following information explains how to publish an alert.
Adding an Alert
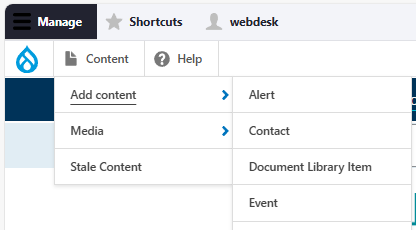
Once logged in, go to the Drupal Admin toolbar and click Content > Add Content > Alert.
The following fields will be visible:
- Title: Enter the Alert’s title. This field is required.
- Key Message: Add a summary of what residents need to know and do. This field has a maximum of 160 characters.
- Body: Provide additional details. If you are also sending a public service announcement (PSA), this is where you'd add same information as the PSA.
Clicking the Alert information tab will show the following additional fields:
- Pinned on Homepage "Alerts and Notices" view: Check this box to pin the Alert to the homepage alerts section. Only choose this option if your alert has action required to protect health and safety (eg Boil Water Advisory). Refer to the UX Style Guide for guidance on this.
- Alert Display: Set the alert to display on related pages by ensuring it is set to "On Page". Consult with a communications manager before setting as a "Banner" as this is only used in specific circumstances.
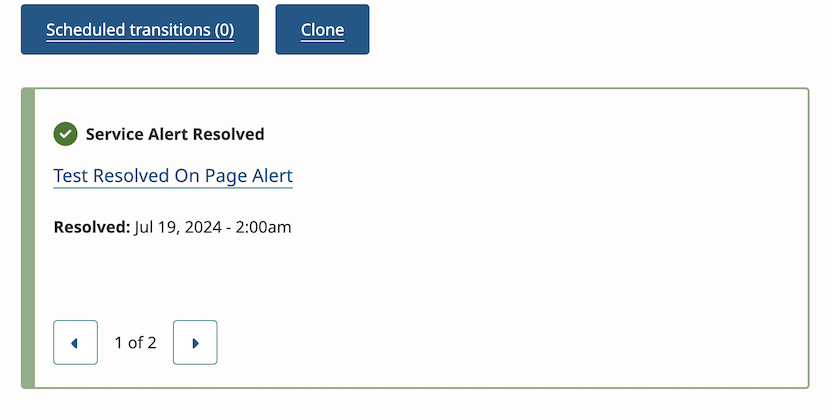
- Status: Mark the Alert as Active when creating a new alert. This will set it to appear on the home page under the Active Alerts tab. Once an alert is resolved it needs to be edited and marked as such.
- Date Last Updated: This field will default to the time at which you edit the Alert, but can be adjusted manually.
- Date Resolved: Leave this field blank until you are ready to change the status to Resolved. Include a date and time.
- Alert type: This is optional, and you can use it to indicate what type of event the alert is in response to. When selected, this will appear on the alert for website visitors.
- Community: This indicates which municipalities or electoral areas are affected by the alert. When selected, the alert will also appear on the community landing page. It does not change who receives email notifications.
Adding related content
The Alert content type includes several fields for adding related content to a specific node.
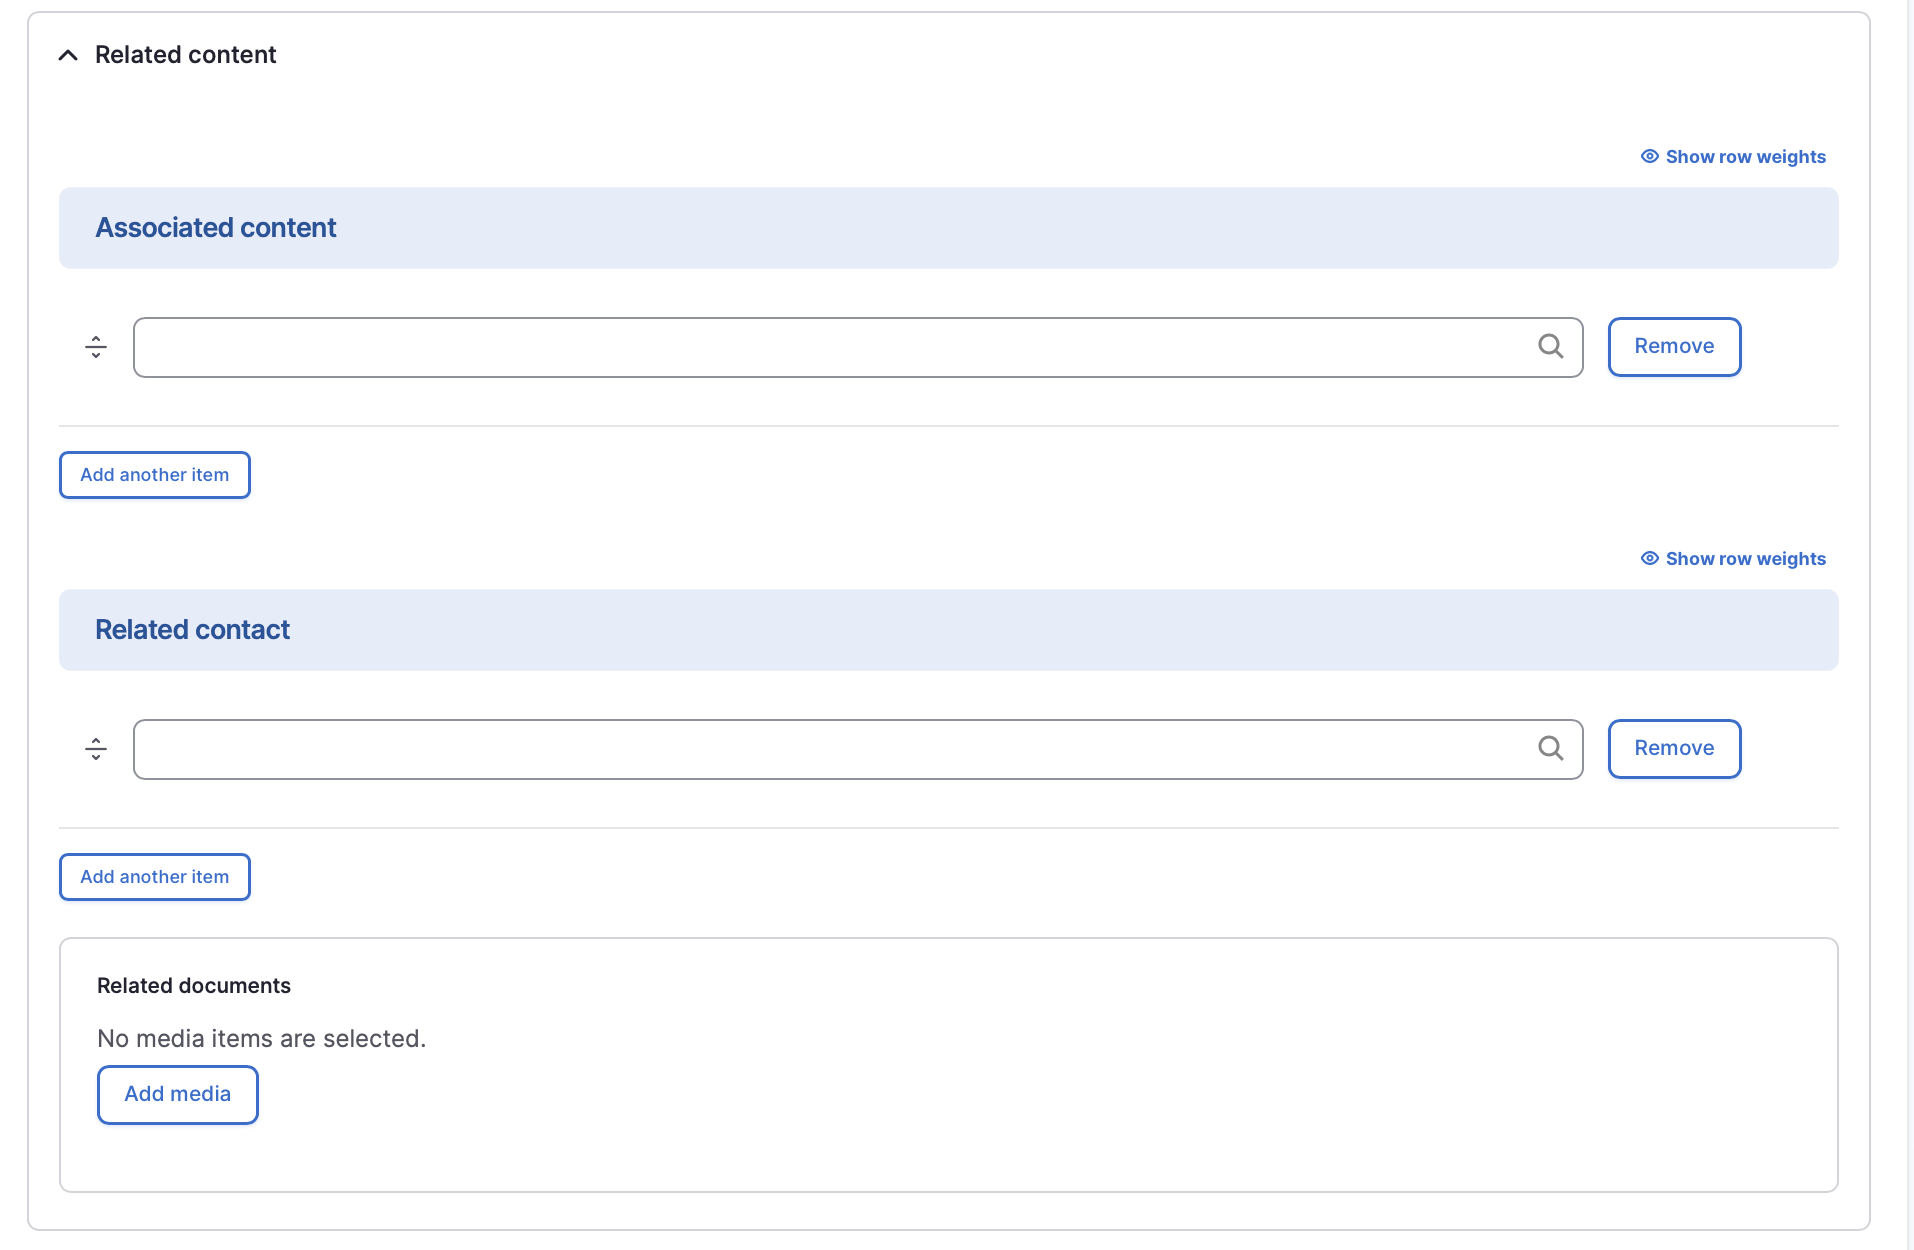
You can use the Associated content field to display the alert on any of the following content types:
- Board/Committee/Commission
- Community
- Page
- Park/Trail
- Project/Initiative
- Water System
In addition, the Related contact field can be used to add a Contact content type to a node. This will display the contact information in the sidebar of the alert. The Related documents field is used to add any relevant documents from the media library to the node.
Send mailout to subscribers
You also need to confirm whether to send an email to subscribers or not. This option is located just above the publish and save options.
By default, send to subscribers every time you create a new service alert. Situations when you should turn off emails are: fixing broken hyperlinks or typos, or updating the date only to assure residents it's still active.
Note: the service alert subscribers are not segmented by community. Everyone gets an email regardless of location.
Editing an Alert
- To edit a specific node, click on Content in the Drupal toolbar.
- Filter by the Alert content type.
- Click to edit the specific node. Make your desired edits. Remember to check:
- Date last updated.
- Send mailout to subscribers. Limit turning this on to situations where the impacted area has changed or the action required has changed.
- Make sure that Published is selected in the dropdown menu, and click Save.
Resolving an Alert
Follow the same steps as you would when editing an alert, with a few more steps:
Edit the Key Message to reflect current status (what does resolved mean?) and update the body to make sure it reflects status of the alert (ie no more calls to action if no longer required).
Check that both the status is set to Resolved and the Resolved Date is completed.
Remove Associated content links. If you choose to keep them linked, the alert showing resolved status will remain on the associated pages or nodes until you remove them and republish.
Click Publish.
Alert displays
Global alerts
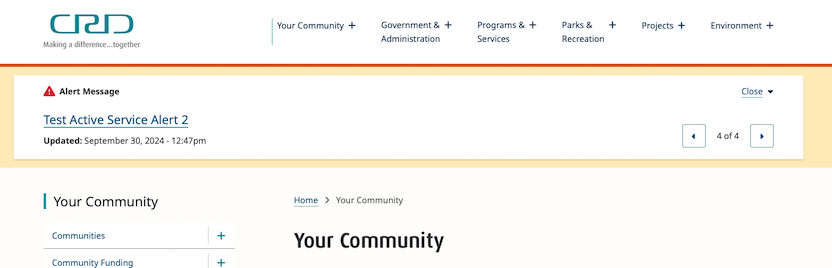
You have the option of displaying an alert (or water outage) across the entire site. This will appear at the top of the page with a yellow banner.
Alerts in which the Alert Display input is 'Banner' will display globally. Alerts which are 'Resolved' will not display in the global alert.
Water outages that have Display in Global Alert Banner 'checked' will also display in this location.
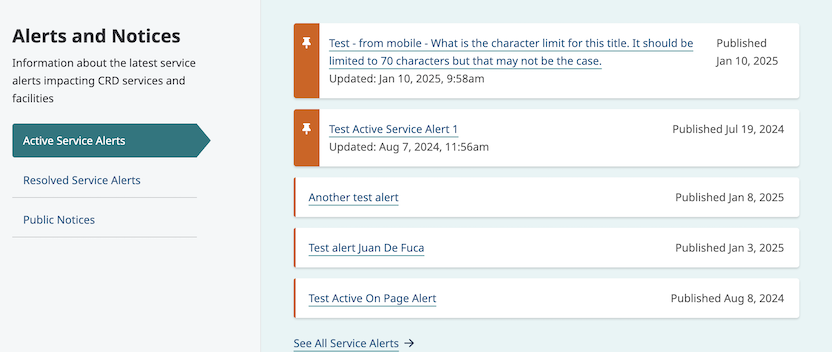
Homepage alerts
Alert content types will display on the Alerts and Notices section of the homepage, regardless of status.
Active alerts will display under the Active Service Alerts tab; resolved alerts will display under the Resolved Service Alerts tab.
To pin an alert to the homepage, make sure the Pinned on Homepage "Alerts and Notices" view checkbox is checked when creating or editing the alert. This will ensure the alert stays visible regardless of the publication date.
On-page alerts
Alerts will display on any content type that is input via the Associated content field. It will display at the top of the page with a link to more details.
This functionality can be used when an alert is relevant to a specific audience or service area, but does not need to be visible across the site.
Content lifecycle
Once an Alert node is set to 'Resolved' via the Status field, it will remain visible for one day on any pages that are entered in the Associated content field. The node will remain visible in the main alerts hub for 14 days.
Integrations
Constant Contact
Send a Mailout to Alert Subscribers
Send a mailout to the Alert subscribers either when creating or editing an Alert.
- From the Admin toolbar, select Content > Add Content > Alert.
- Or click Content.
- Find or use the filter by content type Alert.
- Click to edit the Alert.
- Update relevant Alert information and other changes.
- Check the Send mailout to subscribers now.
- Make sure the save as is set to Published.
- Click Save.
Click here for more details on the Constant Contact integration.
Editorial guidelines
For instructions on when to use the Alert content type and how to write an alert, see the UX style guide.